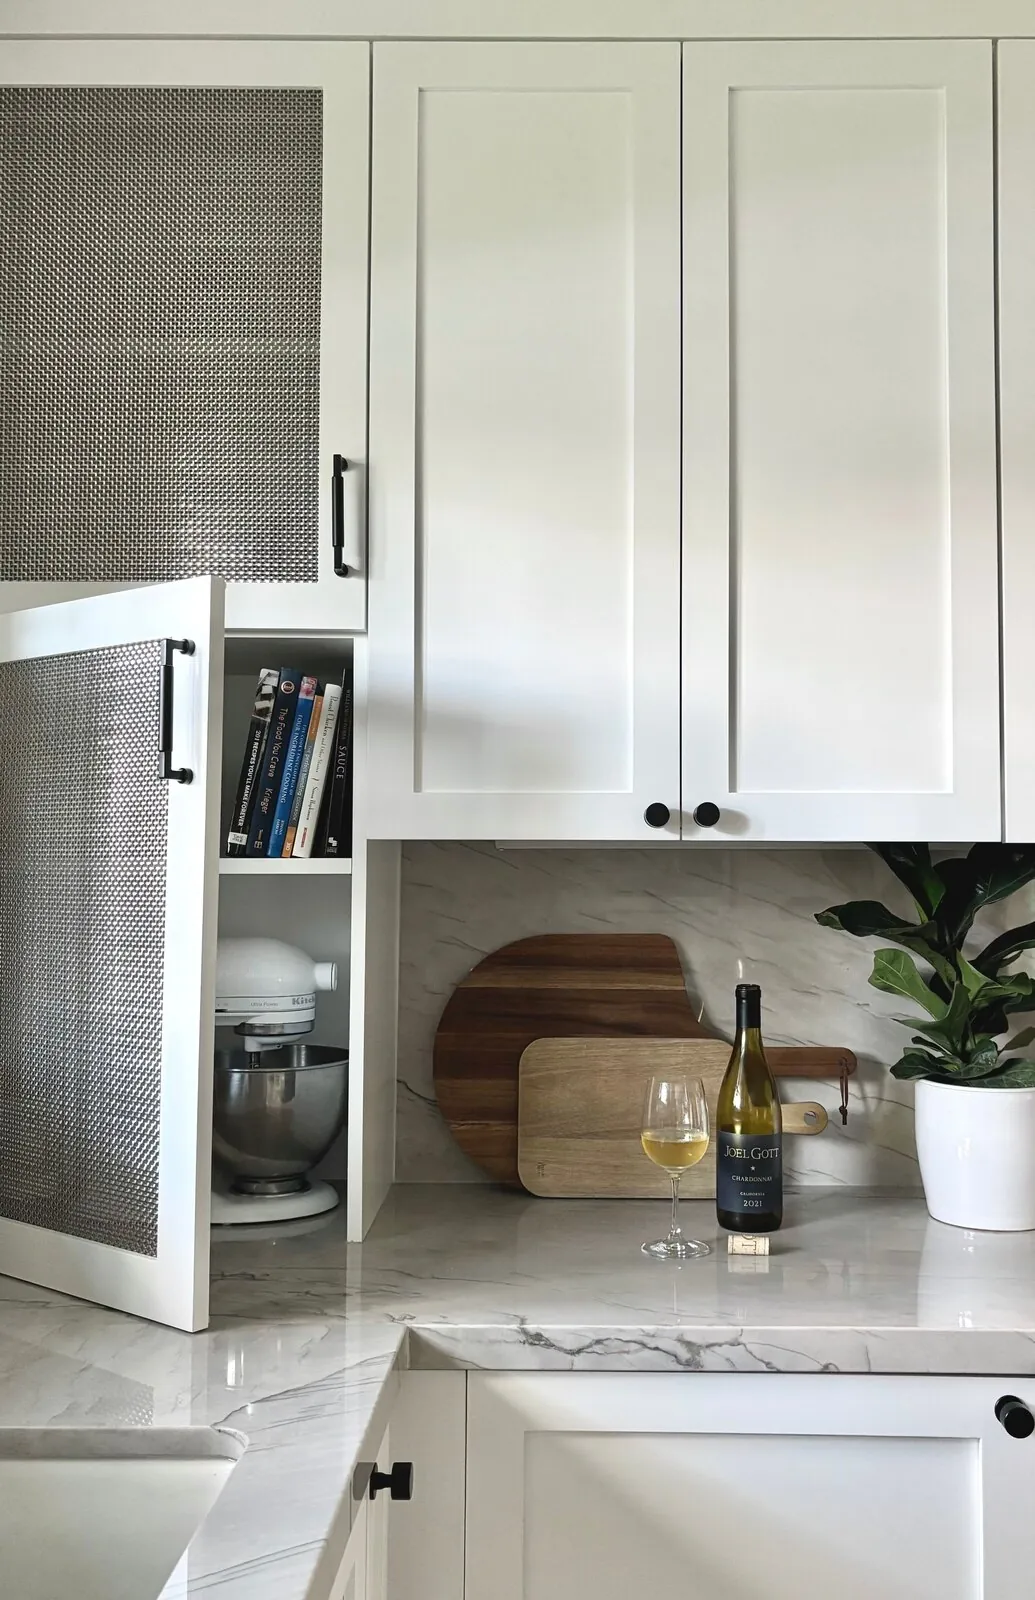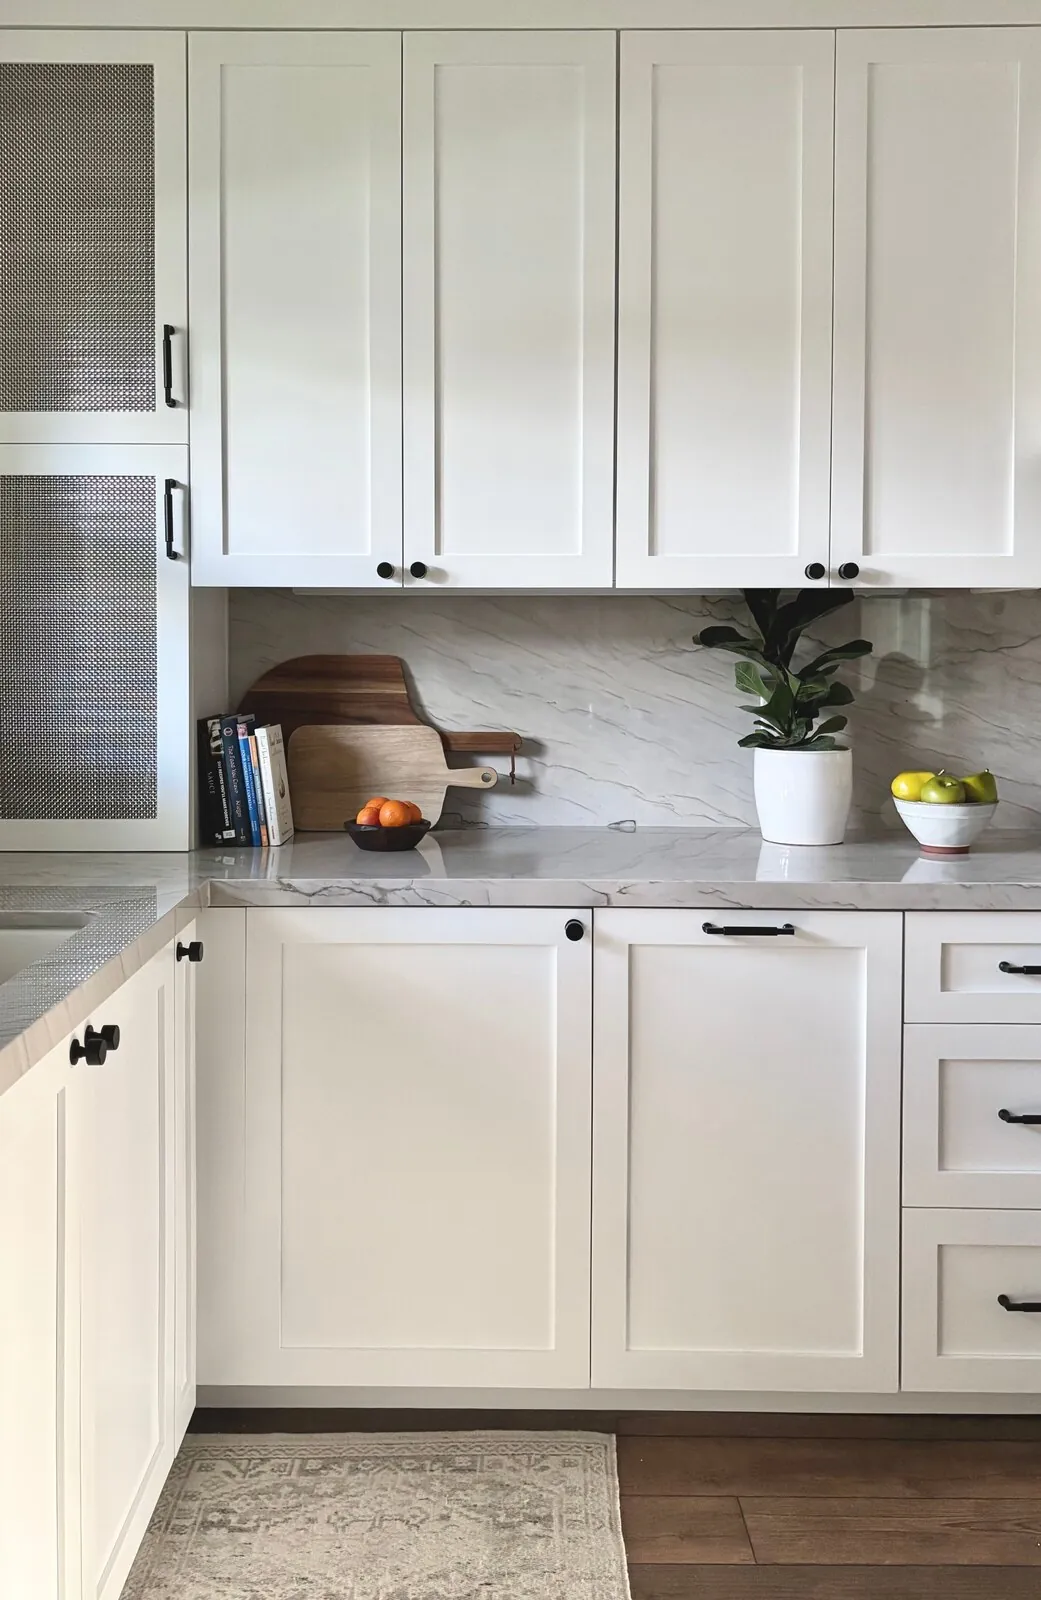
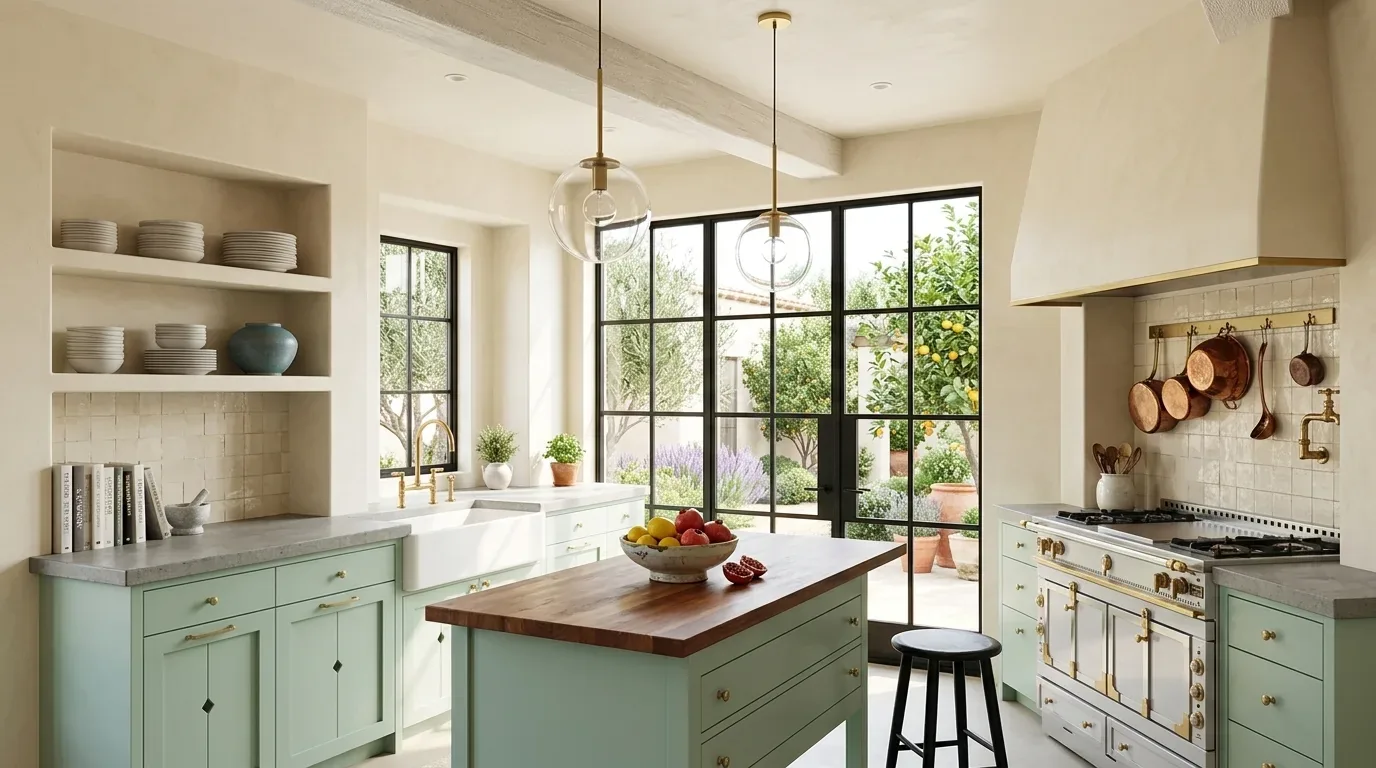
Crown molding on shaker cabinets adds detail. It enhances their clean lines. Pick a style that matches shaker cabinets. Add a finishing touch. Crown molding gives shaker cabinets more visual height and craftsmanship.
Check out the crown molding styles that suit shaker cabinets. This guide covers the whole lot. Including Sacramento-friendly materials and installation tips. Watch for common pitfalls. Costs vary based on project size. We aim for design that respects shaker cabinet simplicity. Adding just enough sophistication.
Common Questions
| What is shaker cabinet crown molding? | Shaker cabinet crown molding is a flat-topped trim piece that frames the top edge of cabinets, adding a refined transition between cabinetry and ceiling. It’s a key detail in minimalist Shaker designs, where clean lines dominate—though it’s not about flash, just precision. |
| How do I choose the right crown molding for shaker cabinets? | Stick to profiles with clean, geometric edges—beveled or stepped—since Shaker cabinetry thrives on simplicity. The molding should align with the cabinet’s height and ceiling proportions to avoid visual disruption, but avoid overcomplicating it. Think of it as an extension of the cabinet’s structure, not a decorative distraction. |
| What materials are recommended for shaker cabinet crown molding in Sacramento? | Sacramento’s humidity and temperature swings demand materials that won’t warp or crack: MDF with a matte or semi-gloss paint finish holds up well, or solid oak/maple if you want natural wood. Avoid particleboard or low-grade plywood—those fail fast in this climate. Finishing ease matters too; painted MDF hides imperfections better than raw wood. |
| Are there regional design trends for shaker cabinet crown molding in Sacramento? | Sacramento leans toward understated, long-lasting crown molding—think subtle profiles in neutral tones that echo the cabinetry’s finish. Locally, I’ve seen more painted MDF than wood, partly because it’s cost-effective and low-maintenance. The goal isn’t trendy; it’s functional cohesion without competing with the cabinet’s clean lines. |
First Major Design Move: Choosing the Right Crown Profile
In our current projects across Sacramento, the first step in elevating shaker cabinets with crown molding is selecting a profile that harmonizes with the cabinet’s simplicity. We often recommend profiles with clean, straight lines and minimal embellishment, think of a simple stepped or beveled edge, rather than ornate, Victorian-inspired designs. The goal is to add visual height without overwhelming the minimalist cabinet face.
We look at brands like Metrie or Fypon for crown profiles from sleek to traditional. MDF with paint or natural oak and maple. Both good for durable, easy finishes. Get a crown that suits the kitchen. Don't overdo it. Keep it elegant. Layered lighting highlights the clean lines of molding. Avoid complex profiles.
Material Specificity for Shaker Cabinet Crown Molding
Authenticity-grade materials
- MDF (medium-density fiberboard), for painted profiles, smooth surface, cost-effective, paint-ready finish
- White oak (rift-sawn), for natural finish, stable, subtle grain, durable in high-moisture areas
- Maple, for a smooth, consistent grain, suitable for painted or stained finishes
- PVC or composite molding, for moisture-prone areas, resistant to humidity, easy maintenance
- Solid pine, for rustic or country styles, easy to carve or shape
- Cherry, for a warm, rich finish, more premium but stable
- Engineered wood, for environmentally conscious options with uniform appearance
- Natural stone or marble accents, sparingly, for unique transitional or high-end accents
Generic-grade tells we refuse to spec
- Plastic or vinyl, low-cost but less authentic
- Particleboard, cheap and prone to swelling in moisture
- Laminate, inconsistent finish, not suitable for detailed profiles
- Thin MDF, prone to chipping, especially at edges
- Acrylic or resin composites, can look artificial and lack warmth
- Pressboard, weak and not durable for detailed molding
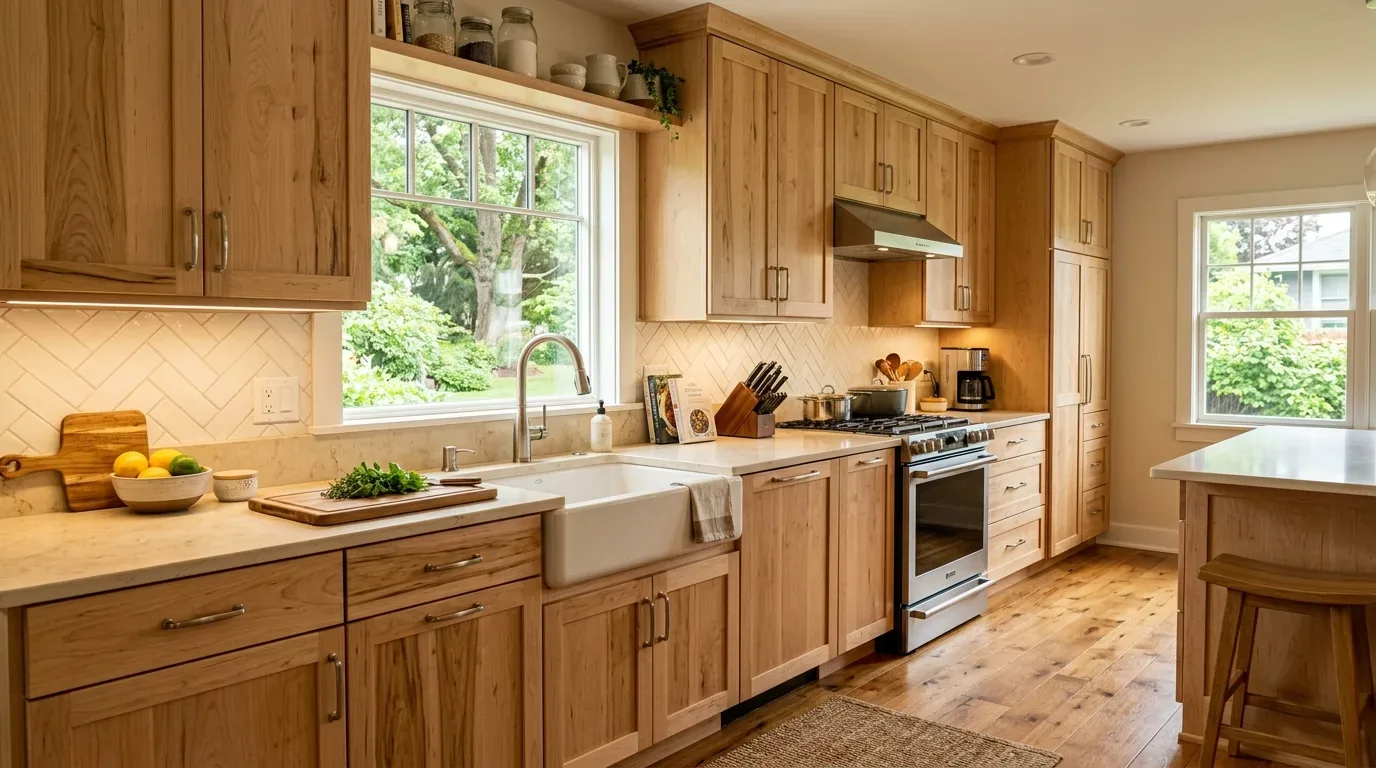
How to select and install crown molding that complements shaker cabinets
The primary decision for homeowners is choosing a profile that enhances their shaker cabinets without overpowering their minimalist aesthetic. First, what's the ceiling height? It affects the crown molding profile. An 8-foot ceiling does fine with a 2-inch MDF crown. Higher? Go up to 3 inches. MDF painted matte or semi-gloss is sleek and cheap. Real wood brings warmth.
Installation involves careful planning of miters and alignment. Grab a laser level. Align that crown exactly with the top of your cabinets. Can’t do without clamps. Finishing nails and a finish saw, too, for that slick look. Watch the crown angles. Uneven ceilings are common in older Sacramento houses. Nail those miters and caulking details. Shaker style thrives on precision.
What This Costs in 2026
| Scope | Typical range |
|---|---|
| Cosmetic refresh with painted MDF crown, simple profile | $1,500-$3,000 |
| Mid-tier natural wood finish or detailed profile | $3,000-$6,500 |
| High-end custom profile, extensive detailing, or integrated lighting | $6,500-$15,000 |
Working Notes
What We Have Learned Doing This: Shaker cabinet crown molding: A Designer's Guide
“If the cabinet drawings are not frozen before slab templating, expect rework.”
Panel-ready appliances drive the cabinet shop calendar, not the other way around. Order them first or accept that the boxes sit waiting for a panel.
Plan for the next decade, not tomorrow's photos. The best work doesn't scream 'look at me' but holds up over time.
With enough projects, you worry less about style and more about those pesky surprises like a misplaced wall. Looks matter, sure, but getting the job done right is what makes it all real.
Fixing the wrong issue? That's just money down the drain. Need more room? Maybe just add light instead of building out. We make the room tell us the problem before anyone signs a demolition contract.
These notes come from our own project debriefs. Most were learned the expensive way the first time.
Sources & Professional References
This guide's positions on materials are grounded in published building-code, standards, and recognized design-authority sources, alongside Designed | Curated Interiors' verified credentials and active project files:
- American Society of Interior Designers (ASID): interior-design practice standards
- International Code Council (ICC): Chapter 8 Interior Finish Decorative Materials And Furnishings
- NKBA, Amy Kunst Member Profile (verified credential, NKBA Committee Member)
- Featured in: Homes & Gardens (design expert quote, May 2026) · Sacramento Love (guest author, 2024)
From Principle to a Real Room
A trend piece is the briefing document, not the deliverable. The pages below show how we translate these principles into finished rooms across Sacramento and the rest of Northern California.
- Sacramento & Bay Area Interior Design Services How we scope, source, and deliver work end to end.
- Interior Designer Hub, Sacramento Where most of our Sacramento work lives, the regional fit explained.
- Modern Tudor Homes: Authentic, Revival, and Neo-Tudor (A Designer Reference) Heritage-architecture renovation patterns from our project files.
- Japandi Living Room: A Designer's Guide to the 2026 Look The 2026 warm-neutral playbook applied to the living room.