


 ”
”
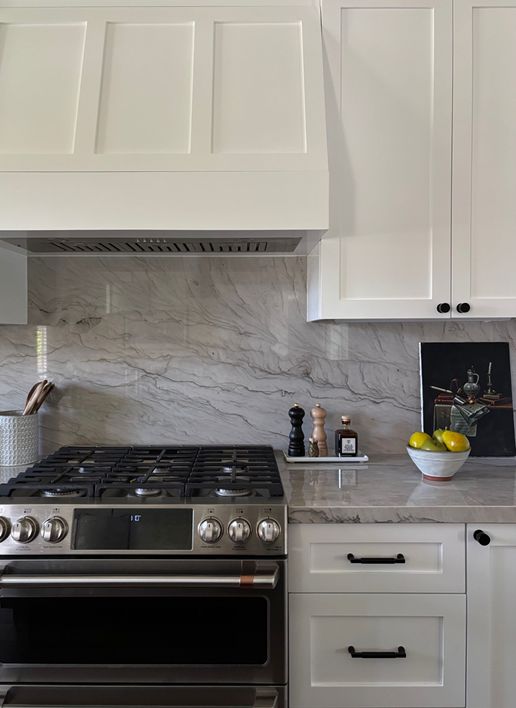
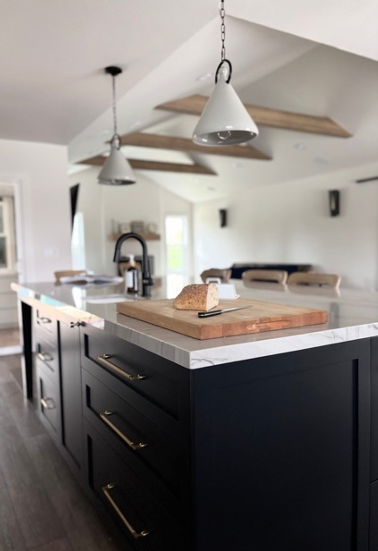
Amy helped me with an extensive and kitchen remodel. The new kitchen exceeded our expectations, no doubt in large part to Amy's skill and
expertise.
Amy took the time upfront to understand our needs. I knew I could count on her for an honest opinion and thoughtful, tasteful
recommendations. Amy also has a great eye for detail. On any project, paying attention to the small things sets larger tasks up for success.
Amy understands this and communicates clearly at all points along the way.
Amy is also skilled in working with subcontractors. This is a huge asset that I never even thought of before starting this project. We feel so
lucky that Amy help us create our dream kitchen! I can't recommend her highly enough.
 ”
”
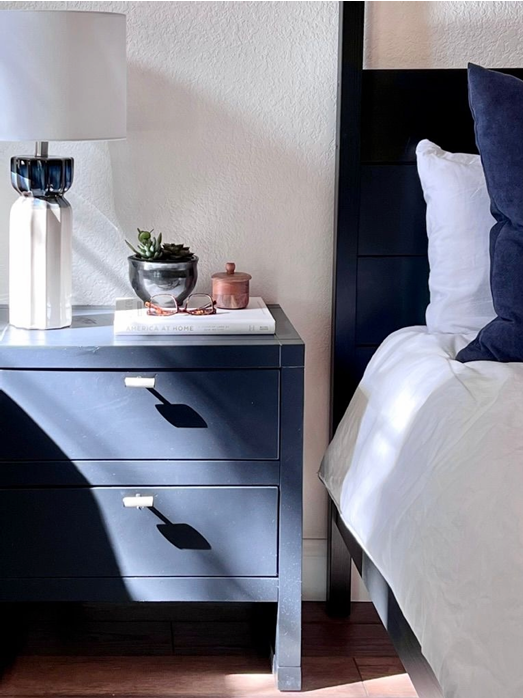
When we first started our kitchen remodel we hadn't planned on using an interior designer for house
in Sacramento. Once
we started looking at all the choices we would have to make it just felt overwhelming and we decided
we needed help.
Working with Designed l Curated Interiors was a great fit. Amy was very personable and listed to all
our ideas.
 ”
”
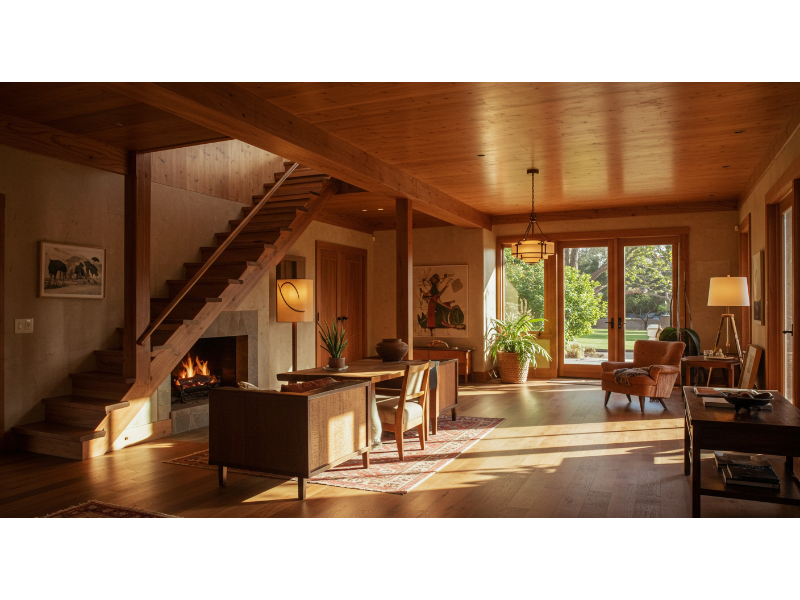
A very creative, thoughtful, and patient architecture firm. Professional. Great attention to details. I can’t imagine better or more talented people to work with. Timely with their drawings, responsive to questions and input, a class act. As the homeowner, it is easy to get off track and go down a road that architecturally.
 ”
”
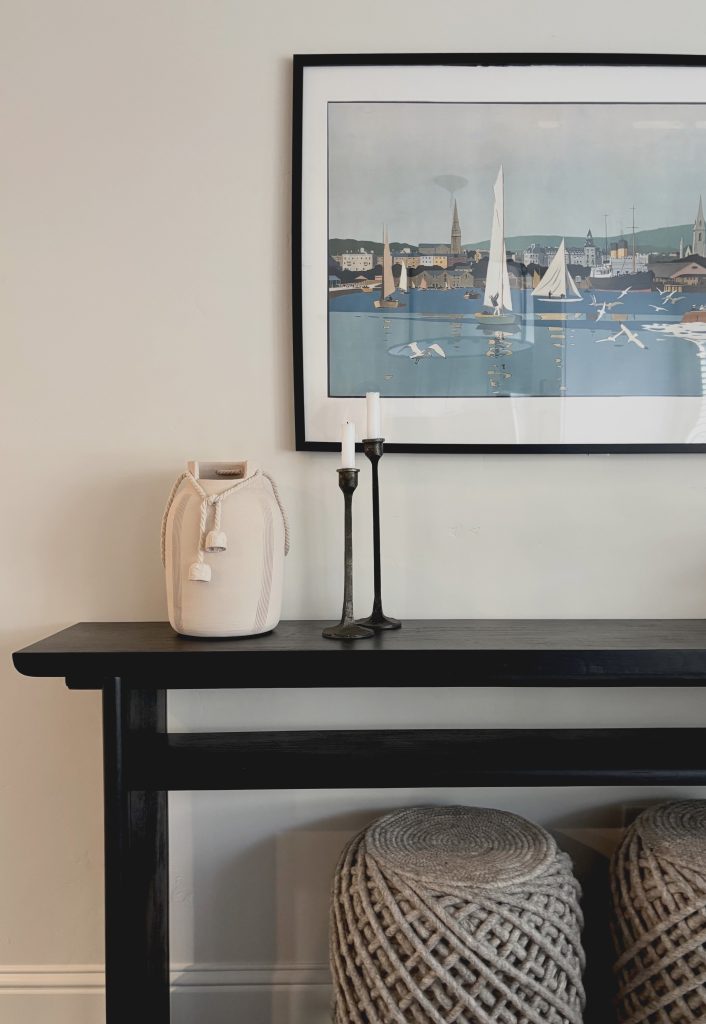
I had a fantastic experience working with Amy. She gave my home a fresh new look, arranging everything in a way that reflected my personality. Her attention to detail and design sense are outstanding.